
오늘은 State패턴에 대해 알아보고 실제 코드를 통해 작동하는 것을 보자.
State패턴은 객체 내부 상태에 따라 스스로 행동을 변경하는 것으로 State를 인터페이스로 만들고 이를 상속받은 여러 상태를 클래스로 만든 다음 상태 전환을 클래스 간의 참조 변경으로 처리한다.
용도
애니메이션이나 플레이어 움직임, 몬스터AI에 사용하곤 한다,
코드
우선 State들이 상속받을 인터페이스를 알아보자.
// State 패턴
public interface IPlayerState
{
    void Enter(Player player);      //진입
    void Execute();                 //변경조건
    void Exit();                    //종료
}
이런식으로 인터페이스는 진입했을 때의 행동, 변경 조건, 종료시의 행동을 정의할 수 있게 구성되어있다.
간단한 쿠키런 같은 점프 게임을 통해 실제로 어떤식으로 작동하는지 알아보자.
점프게임에 필요한 플레이어의 행동은 평상시, 점프, 떨어지기, 피격등이 있을 것이다. 이를 IPlayerState를 상속받는 클래스로 만들어주자.
IdleState
private class IdleState : IPlayerState
{
    private Player _player;

    public void Enter(Player player)
    {
        _player = player;
        _player.animator.SetInteger("state", 0);
    }

    public void Execute()
    {
        // 플레이어가 땅에 붙어있지 않다면 떨어지고 있어야한다.
        if (!_player.isGrounded) _player.ChangeState(_player._fallState);
    }

    public void Exit() { }
}
JumpState
private class JumpState : IPlayerState
{
    private Player _player;

    public void Enter(Player player)
    {
        _player = player;
        _player.animator.SetInteger("state", 1);
        _player.rb.AddForce(Vector2.up * _player.jumpForce, ForceMode2D.Impulse);
        Managers.Audio.PlaySound("Jump");
        _player.isGrounded = false;
    }

    public void Execute()
    {
        if (_player.rb.linearVelocityY <= 0) _player.ChangeState(_player._fallState);
    }

    public void Exit() { }
}
Fall State
private class FallState : IPlayerState
{
    private Player _player;

    public void Enter(Player player)
    {
        _player = player;
        _player.animator.SetInteger("state", 2);
    }

    public void Execute()
    {
        // 땅에 도달하면 Idle로
        if (_player.isGrounded) _player.ChangeState(_player._idleState);
    }

    public void Exit() { }
}
Hit State
 private class HitState : IPlayerState
 {
     private Player _player;

     public void Enter(Player player)
     {
         _player = player;
         Managers.Audio.PlaySound("HealthDown");
         _player.CurrentLives--;

         if (_player.CurrentLives <= 0) _player.ChangeState(_player._deathState);
     }

     public void Execute() { }

     public void Exit() { }
 }
이렇게 해준 다음 플레이어의 Awake단에서 이 클래스를 선언하고 각 키의 호출 시에 State를 변경하도록 하고 주기적으로 변경 조건을 검사하도록 FixedUpdate에서 이 부분을 호출해주자.
Player.cs
   private void Awake()
   {
       // State 클래스 선언
       _idleState = new IdleState();
       _jumpState = new JumpState();
       _fallState = new FallState();
       _hitState = new HitState();
       _deathState = new DeathState();

       ChangeState(_idleState);
   }

    private void FixedUpdate()
 {
     _currentState?.Execute();
 }

 private void ChangeState(IPlayerState newState)
{
    _currentState?.Exit();
    _currentState = newState;
    _currentState.Enter(this);
}
Jump동작만 예시를 들어보자면 다음과 같이 작동한다.
private void OnEnable()
{
	playerInputActions.PlayerAction.Jump.performed += JumpAction;
    playerInputActions.PlayerAction.Enable();
}

private void OnDisable()
{
	playerInputActions.PlayerAction.Jump.performed -= JumpAction;
    playerInputActions.PlayerAction.Disable();
}

private void JumpAction(InputAction.CallbackContext context)
{
    if (isGrounded)
    {
        ChangeState(_jumpState);
    }
}
이렇게 해주면 잘 작동하는 것을 볼 수 있다.
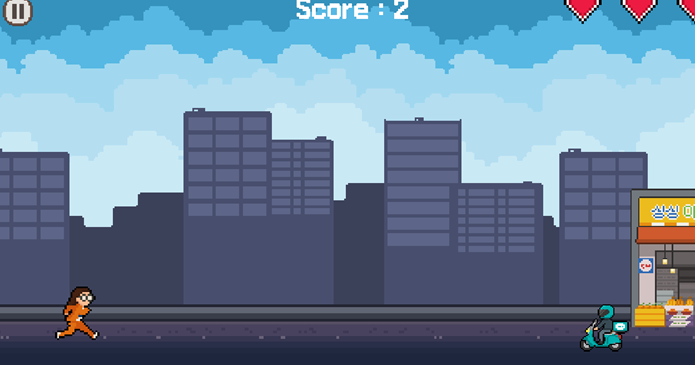
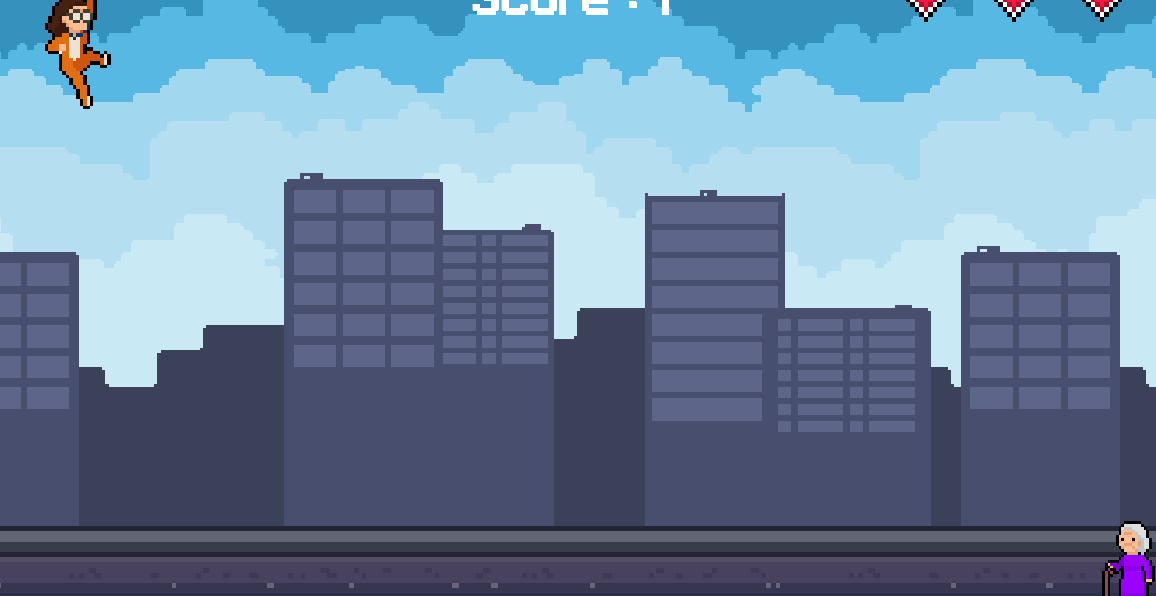
이 게임은 다음 링크에서 해볼 수 있다.
https://play.unity.com/en/games/bb897f9a-ede5-4217-9d35-47793607782d/kimchi-run-by-munchi
'게임공부 > Unity' 카테고리의 다른 글
| [C#][Unity][나만의 탑뷰 게임 만들기]9. 적 시스템구현1(FSM) (0) | 2025.01.30 |
|---|---|
| [C#][Unity][나만의 탑뷰 게임 만들기]8. 인벤토리 시스템 수정 (1) | 2025.01.13 |
| [Unity]최적화 관련 팁 (0) | 2025.01.08 |
| [C#][Unity][나만의 탑뷰 게임 만들기]7. 인벤토리 시스템 만들기2 (1) | 2025.01.02 |
| [C#][Unity][나만의 탑뷰 게임 만들기]6. 인벤토리 시스템 만들기 (2) | 2024.12.28 |