이번엔 빌보드를 활용해서 풀대신에 눈을 내리게 해보자
빌보드를 활용해서 만들어 줄텐데 비슷한 부분이 많지만 몇가지 달라지는 부분이 있기 때문에 이 부분을 중점으로
살펴보자.
일단 눈을 만들 때 풀을 만들어줄 때 처럼 인위적으로 몇개를 넣어줘서 위치를 지정하는 것이 아니라 구역을 정해주면 그 구역에 지정해준 카운트만큼 눈송이를 뿌려주는 방식이다. 또한 눈 효과를 위해서 시간이 얼마나 경과되었는지에 대한
정보를 상수버퍼로 넣어줘야 한다.
그렇게하기 위해 상수버퍼에 넣어줄 구조체타입을 정의해주고 shader쪽에서 이를 push하는 코드를 만들어주자.
BindShaderDesc.h
//어떻게 뿌릴지
struct SnowBillboardDesc
{
	Color color = Color(1, 1, 1, 1);

	Vec3 velocity = Vec3(0, -5, 0);
	float drawDistance = 0;

	Vec3 origin = Vec3(0, 0, 0);
	//흔들림강도
	float turbulence = 5;

	Vec3 extent = Vec3(0, 0, 0);
	float time;
};
Shader.h
void PushSnowData(const SnowBillboardDesc& desc);

SnowBillboardDesc _snowDesc;
shared_ptr<ConstantBuffer<SnowBillboardDesc>> _snowBuffer;
ComPtr<ID3DX11EffectConstantBuffer> _snowEffectBuffer;
Shader.cpp
void Shader::PushSnowData(const SnowBillboardDesc& desc)
{
	if (_snowEffectBuffer == nullptr)
	{
		_snowBuffer = make_shared<ConstantBuffer<SnowBillboardDesc>>();
		_snowBuffer->Create();
		_snowEffectBuffer = GetConstantBuffer("SnowBuffer");
	}

	_snowDesc = desc;
	_snowBuffer->CopyData(_snowDesc);
	_snowEffectBuffer->SetConstantBuffer(_snowBuffer->GetComPtr().Get());
}
SnowBillboard에서는 일단 생성자부분에서 눈을 모두 만들어주고 update가 필요한것만 update해주는 식으로 구현해주자.
SnowBillboard.h
#pragma once
#include "Component.h"

//정점 최대개수
#define MAX_BILLBOARD_COUNT 500

struct VertexSnow
{
	Vec3 position;
	Vec2 uv;
	Vec2 scale;
	Vec2 random;
};

class SnowBillboard : public Component
{
	using Super = Component;

public:
	//범위, 그려줄 개수
	SnowBillboard(Vec3 extent, int32 drawCount = 100);
	~SnowBillboard();

	void Update();

	void SetMaterial(shared_ptr<Material> material) { _material = material; }
	void SetPass(uint8 pass) { _pass = pass; }

private:
	vector<VertexSnow> _vertices;
	vector<uint32> _indices;
	shared_ptr<VertexBuffer> _vertexBuffer;
	shared_ptr<IndexBuffer> _indexBuffer;

	//그려줄 애들의 수
	int32 _drawCount = 0;

	shared_ptr<Material> _material;
	uint8 _pass = 0;

	SnowBillboardDesc _desc;
	//경과시간
	float _elpasedTime = 0.f;
};
SnowBillboard.cpp
#include "pch.h"
#include "SnowBillboard.h"
#include "Material.h"
#include "Camera.h"
#include "MathUtils.h"


SnowBillboard::SnowBillboard(Vec3 extent, int32 drawCount) : Super(ComponentType::SnowBillBoard)
{
	_desc.extent = extent;
	//적절한범위
	_desc.drawDistance = _desc.extent.z * 2.0f;
	_drawCount = drawCount;

	//사각형이기 때문에 *4
	const int32 vertexCount = _drawCount * 4;
	_vertices.resize(vertexCount);

	//범위안에서 랜덤하게 만들어주기
	for (int32 i = 0; i < _drawCount * 4; i += 4)
	{

		Vec2 scale = MathUtils::RandomVec2(0.1f, 0.5f);

		Vec3 position;
		position.x = MathUtils::Random(-_desc.extent.x, _desc.extent.x);
		position.y = MathUtils::Random(-_desc.extent.y, _desc.extent.y);
		position.z = MathUtils::Random(-_desc.extent.z, _desc.extent.z);

		Vec2 random = MathUtils::RandomVec2(0.0f, 1.0f);

		_vertices[i + 0].position = position;
		_vertices[i + 1].position = position;
		_vertices[i + 2].position = position;
		_vertices[i + 3].position = position;

		_vertices[i + 0].uv = Vec2(0, 1);
		_vertices[i + 1].uv = Vec2(0, 0);
		_vertices[i + 2].uv = Vec2(1, 1);
		_vertices[i + 3].uv = Vec2(1, 0);

		_vertices[i + 0].scale = scale;
		_vertices[i + 1].scale = scale;
		_vertices[i + 2].scale = scale;
		_vertices[i + 3].scale = scale;

		_vertices[i + 0].random = random;
		_vertices[i + 1].random = random;
		_vertices[i + 2].random = random;
		_vertices[i + 3].random = random;
	}

	_vertexBuffer = make_shared<VertexBuffer>();
	_vertexBuffer->Create(_vertices, 0);

	const int32 indexCount = _drawCount * 6;
	_indices.resize(indexCount);

	for (int32 i = 0; i < _drawCount; i++)
	{
		_indices[i * 6 + 0] = i * 4 + 0;
		_indices[i * 6 + 1] = i * 4 + 1;
		_indices[i * 6 + 2] = i * 4 + 2;
		_indices[i * 6 + 3] = i * 4 + 2;
		_indices[i * 6 + 4] = i * 4 + 1;
		_indices[i * 6 + 5] = i * 4 + 3;
	}

	_indexBuffer = make_shared<IndexBuffer>();
	_indexBuffer->Create(_indices);
}

SnowBillboard::~SnowBillboard()
{
}

void SnowBillboard::Update()
{

	_desc.origin = CUR_SCENE->GetMainCamera()->GetTransform()->GetPosition();
	_desc.time = _elpasedTime;
	//시간흐르게
	_elpasedTime += DT;

	auto shader = _material->GetShader();

	// Transform
	auto world = GetTransform()->GetWorldMatrix();
	shader->PushTransformData(TransformDesc{ world });

	// GlobalData
	shader->PushGlobalData(Camera::S_MatView, Camera::S_MatProjection);

	// SnowData
	shader->PushSnowData(_desc);

	// Light
	_material->Update();

	// IA
	_vertexBuffer->PushData();
	_indexBuffer->PushData();

	shader->DrawIndexed(0, _pass, _drawCount * 6);
}
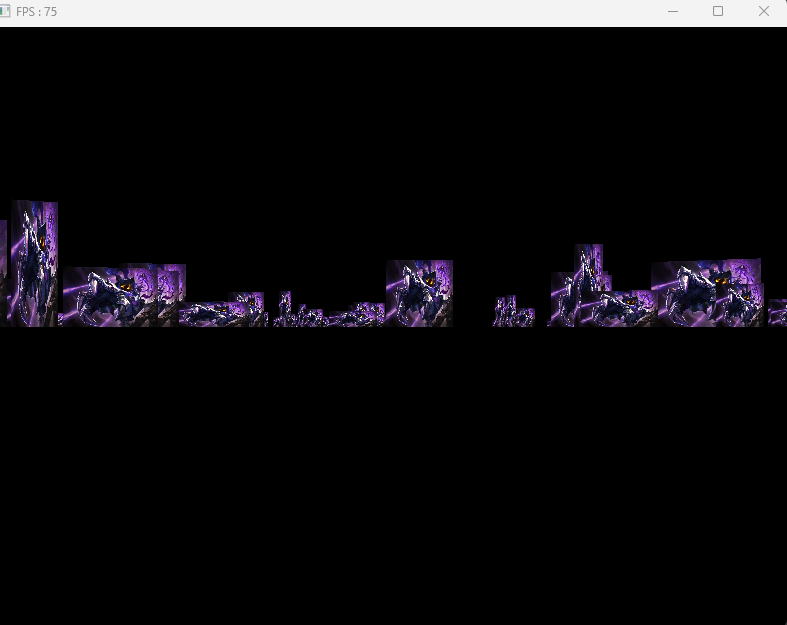
이렇게 해주고 쉐이더코드를 만들어주자. 핵심은 빌보드를 사용해서 물체를 뿌리고 세부수치를 조절해주면 되는 것이다.
우선 빌보드를 설정하는 메인코드를 만들어주고 그 다음에 쉐이더코드를 만들어주자.
SnowDemo.cpp
#include "pch.h"
#include "SnowDemo.h"
#include "RawBuffer.h"
#include "TextureBuffer.h"
#include "Material.h"
#include "GeometryHelper.h"
#include "Camera.h"
#include "GameObject.h"
#include "CameraScript.h"
#include "MeshRenderer.h"
#include "Mesh.h"
#include "Material.h"
#include "Model.h"
#include "ModelRenderer.h"
#include "ModelAnimator.h"
#include "Mesh.h"
#include "Transform.h"
#include "VertexBuffer.h"
#include "IndexBuffer.h"
#include "Light.h"
#include "Graphics.h"
#include "SphereCollider.h"
#include "Scene.h"
#include "AABBBoxCollider.h"
#include "OBBBoxCollider.h"
#include "Terrain.h"
#include "Camera.h"
#include "Button.h"
#include "Billboard.h"
#include "SnowBillboard.h"
void SnowDemo::Init()
{
_shader = make_shared<Shader>(L"29. SnowDemo.fx");
// Camera
{
auto camera = make_shared<GameObject>();
camera->GetOrAddTransform()->SetPosition(Vec3{ 0.f, 0.f, -5.f });
camera->AddComponent(make_shared<Camera>());
camera->AddComponent(make_shared<CameraScript>());
camera->GetCamera()->SetCullingMaskLayerOnOff(Layer_UI, true);
CUR_SCENE->Add(camera);
}
// Light
{
auto light = make_shared<GameObject>();
light->AddComponent(make_shared<Light>());
LightDesc lightDesc;
lightDesc.ambient = Vec4(0.4f);
lightDesc.diffuse = Vec4(1.f);
lightDesc.specular = Vec4(0.1f);
lightDesc.direction = Vec3(1.f, 0.f, 1.f);
light->GetLight()->SetLightDesc(lightDesc);
CUR_SCENE->Add(light);
}
//빌보드
{
auto obj = make_shared<GameObject>();
obj->GetOrAddTransform()->SetLocalPosition(Vec3(0.f));
//범위, 개수
obj->AddComponent(make_shared<SnowBillboard>(Vec3(100, 100, 100), 10000));
{
// Material
{
shared_ptr<Material> material = make_shared<Material>();
material->SetShader(_shader);
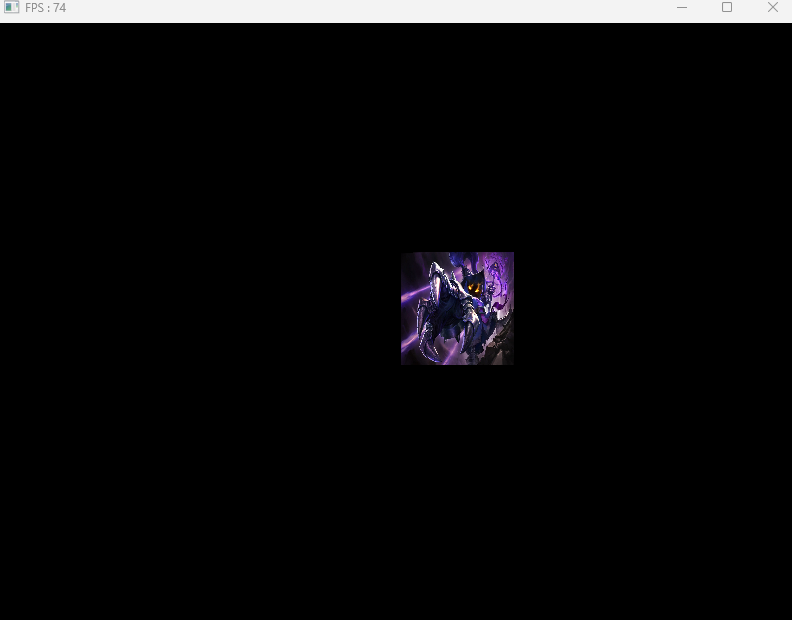
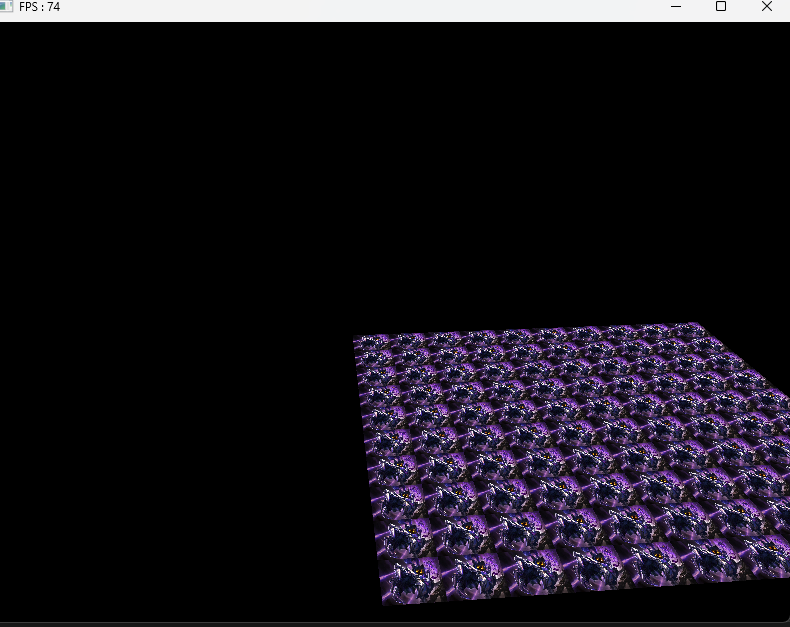
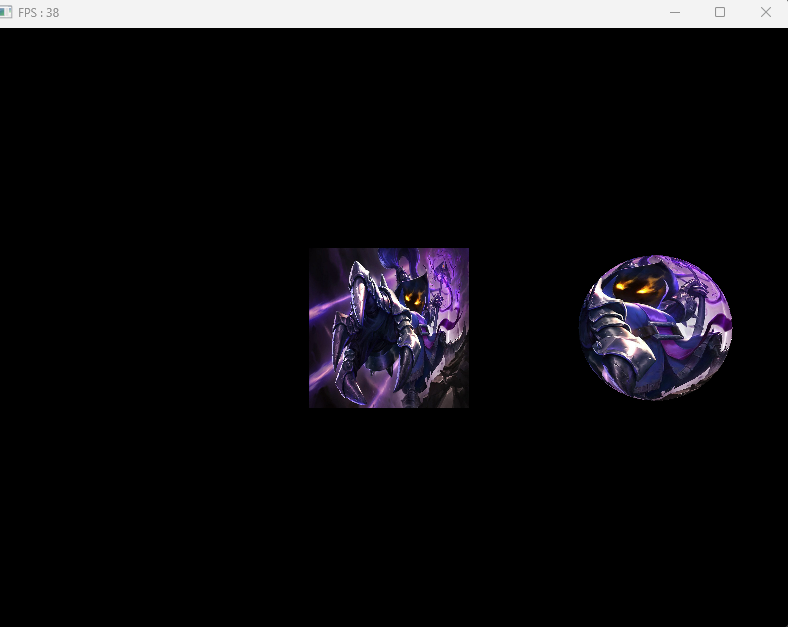
auto texture = RESOURCES->Load<Texture>(L"Veigar", L"..\\Resources\\Textures\\grass.png");
//auto texture = RESOURCES->Load<Texture>(L"Veigar", L"..\\Resources\\Textures\\veigar.jpg");
material->SetDiffuseMap(texture);
MaterialDesc& desc = material->GetMaterialDesc();
desc.ambient = Vec4(1.f);
desc.diffuse = Vec4(1.f);
desc.specular = Vec4(1.f);
RESOURCES->Add(L"Veigar", material);
obj->GetSnowBillBoard()->SetMaterial(material);
}
}
CUR_SCENE->Add(obj);
}
}
void SnowDemo::Update()
{
}
void SnowDemo::Render()
{
}
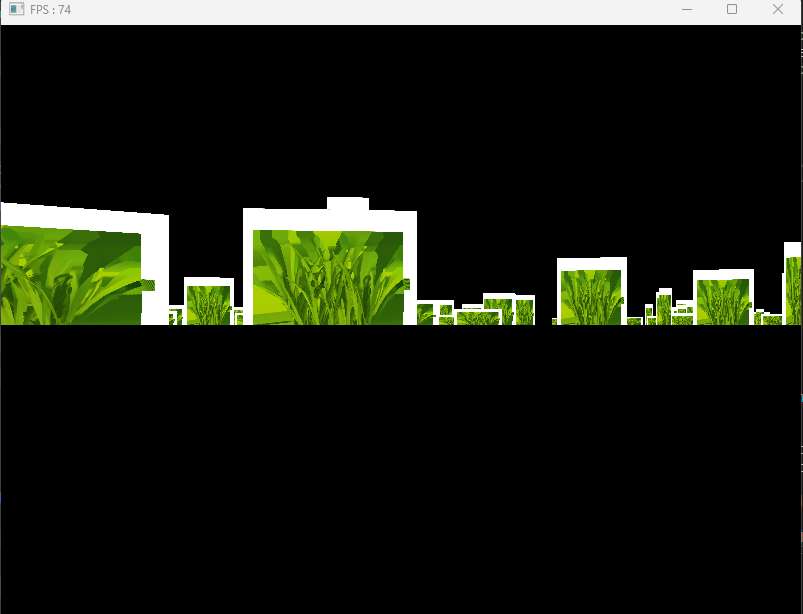
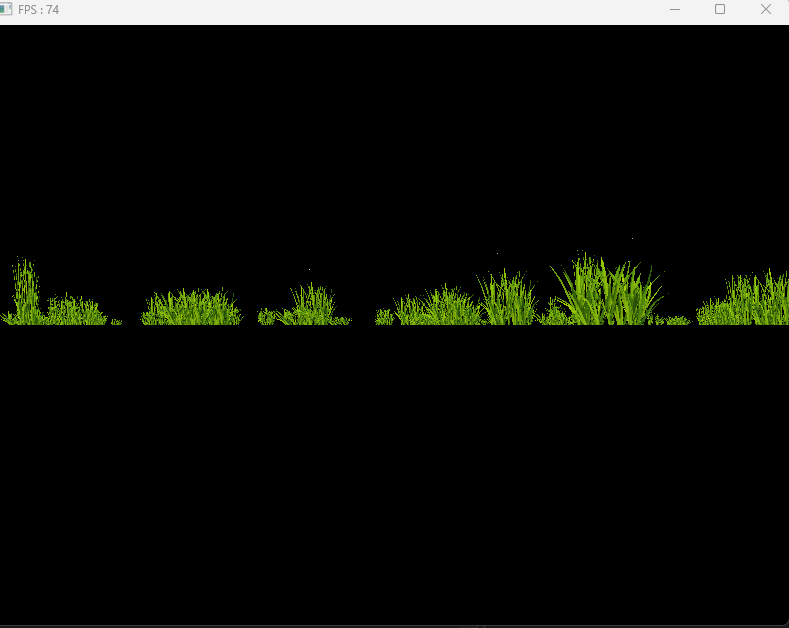
이제 쉐이더코드를 만들어주면 되는데 이때, SnowBillboard에서 만들어준 Vertex부분과 상수버퍼의 Desc와 구조를 맞춰주어야하고 은은하게 어둡게 보이게 해주는 알파블랜딩을 위해 Ouput에서 내보내주기 위해 vertexoutput에 추가해주자.
그리고 글로벌 쉐이더쪽에 가서 알파블랜딩이 되도록 쉐이더 코드를 만들어주자.
Global.fx
////////////////
// BlendState //
////////////////

BlendState AlphaBlend
{
    AlphaToCoverageEnable = false;

    BlendEnable[0] = true;
    //밑에 2개 섞어주기
    SrcBlend[0] = SRC_ALPHA;
    //1-a
    DestBlend[0] = INV_SRC_ALPHA;
    BlendOp[0] = ADD;

    SrcBlendAlpha[0] = One;
    DestBlendAlpha[0] = Zero;
    BlendOpAlpha[0] = Add;

    RenderTargetWriteMask[0] = 15;
};


#define PASS_BS_VP(name, bs, vs, ps)
pass name
{
	SetBlendState(bs, float4(0, 0, 0, 0), 0xFF);
    SetVertexShader(CompileShader(vs_5_0, vs()));
    SetPixelShader(CompileShader(ps_5_0, ps()));
}
SnowDemo.fx
#include "00. Global.fx"
#include "00. Light.fx"
#include "00. Render.fx"

//상수버퍼- 구조 맞춰주기
cbuffer SnowBuffer
{
    float4 Color;
    float3 Velocity;
    float DrawDistance;

    float3 Origin;
    float Turbulence;

    float3 Extent;
    float Time;
};

struct VertexInput
{
    float4 position : POSITION;
    float2 uv : TEXCOORD;
    float2 scale : SCALE;
    float2 random : RANDOM;
};

struct V_OUT
{
    float4 position : SV_POSITION;
    float2 uv : TEXCOORD;
    //알파 블랜딩 - 은은하게 어둡게 보이도록
    float alpha : ALPHA;
};

V_OUT VS(VertexInput input)
{
    V_OUT output;

    //얼마만큼 이동했는지
    float3 displace = Velocity * Time * 100;

    //눈 이동시키기
    // input.position.y += displace;
    input.position.y = Origin.y + Extent.y - (input.position.y - displace) % Extent.y;
    input.position.x += cos(Time - input.random.x) * Turbulence;
    input.position.z += cos(Time - input.random.y) * Turbulence;
    //input.position.xyz = Origin + (Extent + (input.position.xyz + displace) % Extent) % Extent - (Extent * 0.5f);

    float4 position = mul(input.position, W);

    float3 up = float3(0, 1, 0);
    //float3 forward = float3(0, 0, 1);
    float3 forward = position.xyz - CameraPosition(); // BillBoard
    float3 right = normalize(cross(up, forward));

    position.xyz += (input.uv.x - 0.5f) * right * input.scale.x;
    position.xyz += (1.0f - input.uv.y - 0.5f) * up * input.scale.y;
    position.w = 1.0f;

    output.position = mul(mul(position, V), P);
    output.uv = input.uv;

    output.alpha = 1.0f;

    // Alpha Blending
    float4 view = mul(position, V);
    output.alpha = saturate(1 - view.z / DrawDistance) * 0.8f;

    return output;
}

float4 PS(V_OUT input) : SV_Target
{
    float4 diffuse = DiffuseMap.Sample(LinearSampler, input.uv);

    diffuse.rgb = Color.rgb * input.alpha * 2.0f;
    diffuse.a = diffuse.a * input.alpha * 1.5f;

    return diffuse;
}

technique11 T0
{
    PASS_BS_VP(P0, AlphaBlend, VS, PS)
}
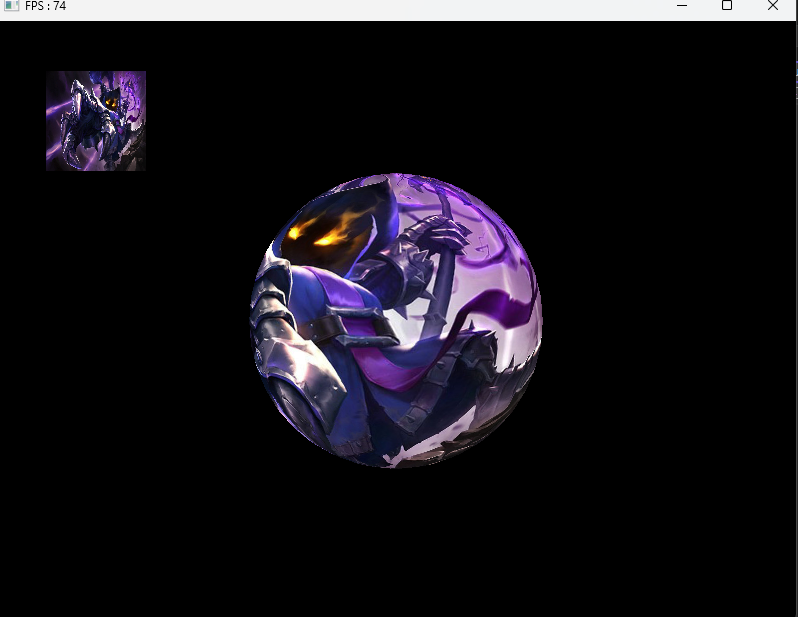
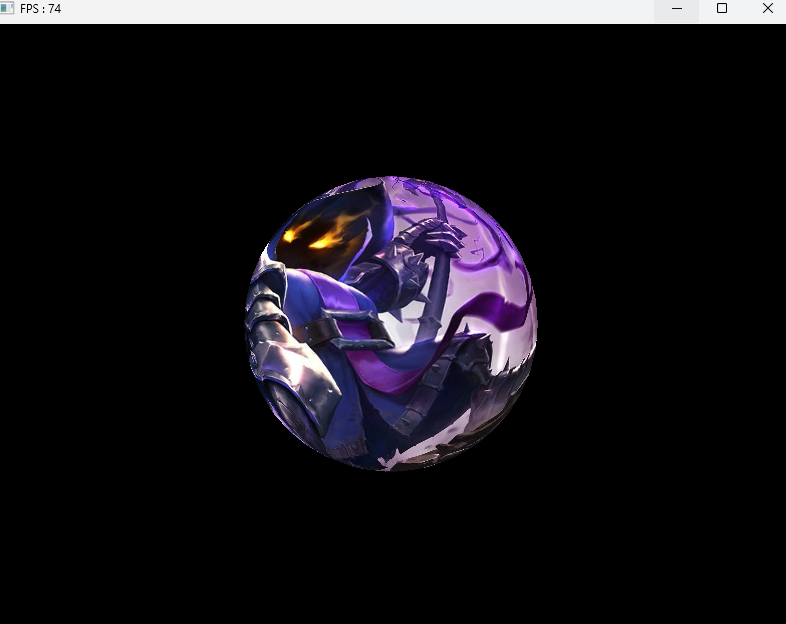
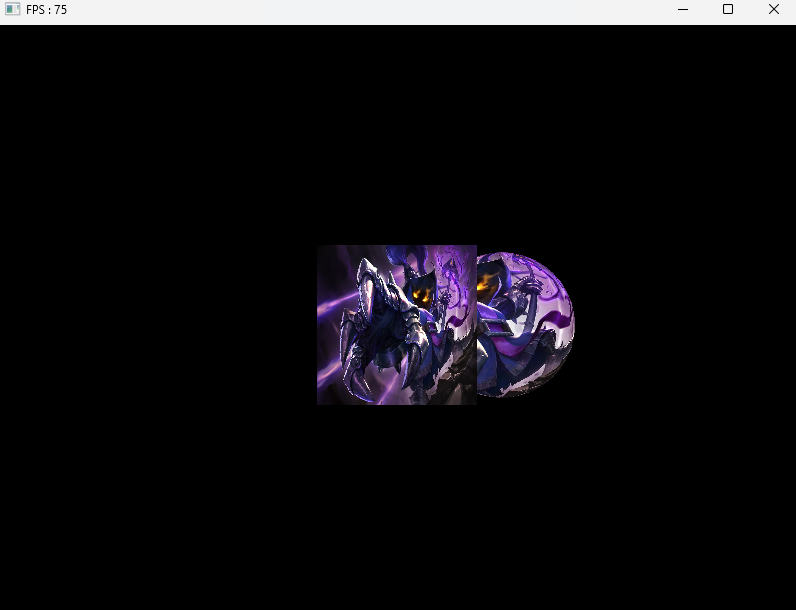
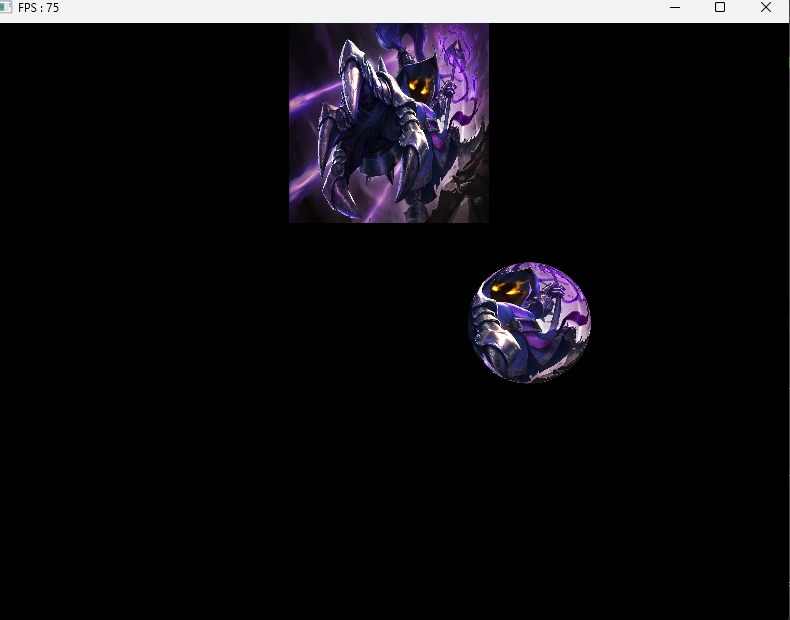
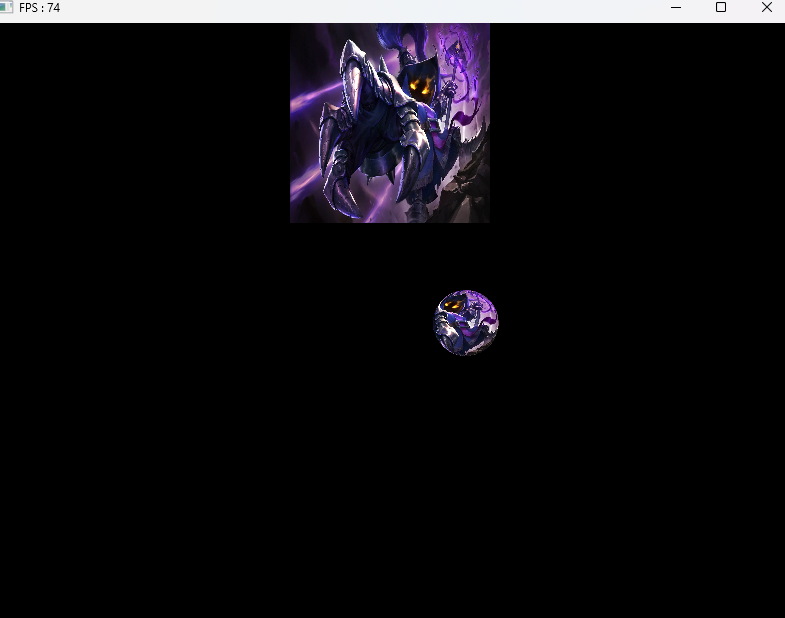
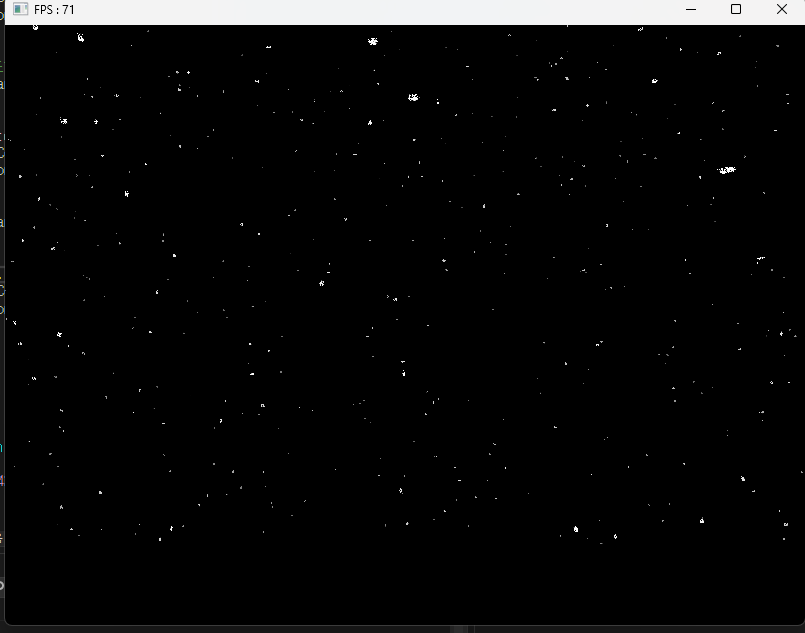
이렇게 해주고 실행해주면 눈이 흔들리는 것을 볼 수 있다.
'게임공부 > Directx11' 카테고리의 다른 글
| [Directx11][C++][3D]35. 빌보드1 (1) | 2024.10.12 |
|---|---|
| [Directx11][C++][3D]34. 버튼 실습 (1) | 2024.10.11 |
| [Directx11][C++][3D]33. 직교투영 (0) | 2024.10.10 |
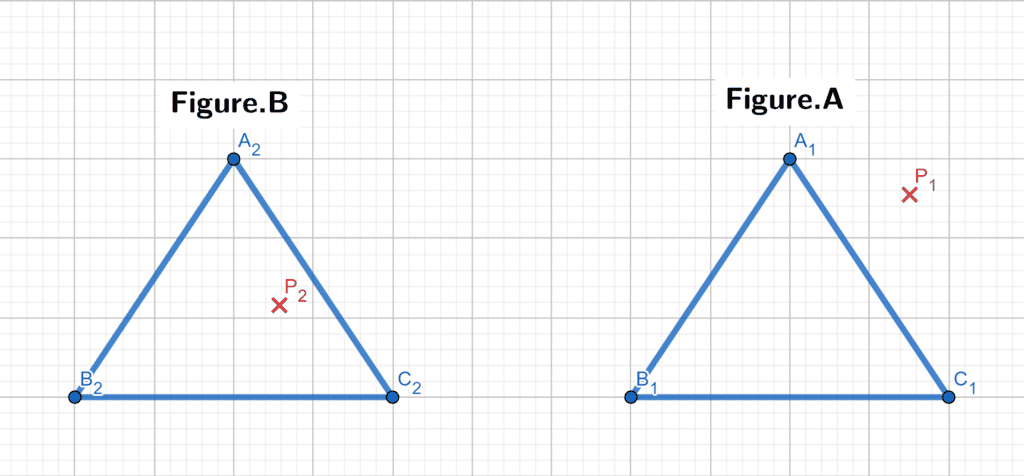
| [Directx11][C++][3D]32. 수학3(Triangle) (4) | 2024.10.09 |
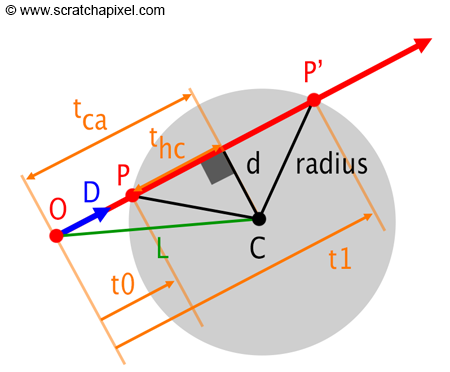
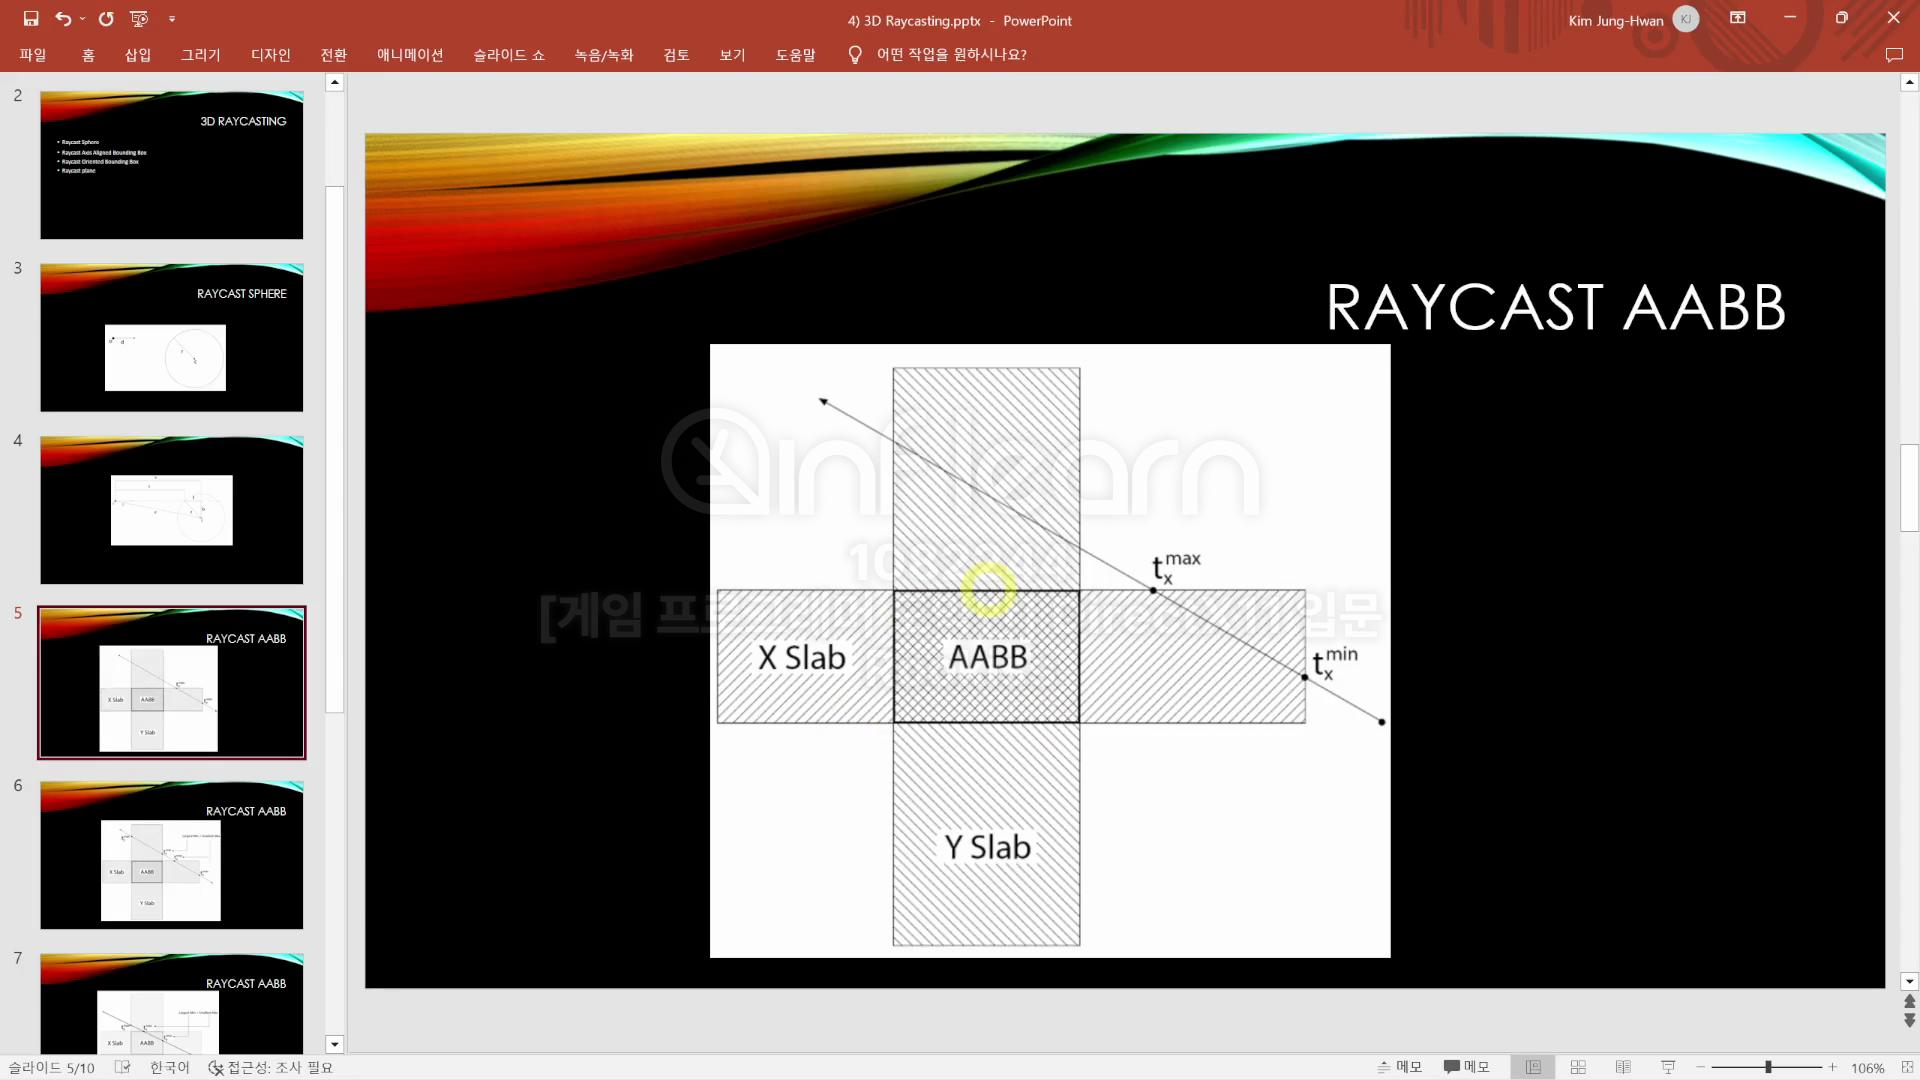
| [Directx11][C++][3D]31. 수학2(Intersection & RayCasting) (1) | 2024.10.09 |