
빌보드는 만약 오브젝트가 배치가 되어있다고 했을 때 카메라가 어느 방향에서 보아도 항상 오브젝트가 카메라의 정면을 향하고 있는 것이다. 이 빌보드는 파티클이나 눈이나 비 같이 이런 입자들도 우리를 바라봐야 하기 때문에 여기에 사용될 수 있을 것이다.
만약 물체하나에만 빌보드를 적용시킨다고하면 움직일 때마다 물체의 rotation을 수정해주거나 쉐이더코드를 수정해줄 수 있다.
이때 rotation을 수정해주는 방법을 해보자. 우선 오브젝트의 3개의 벡터(right,up,look)를 구해주자. 우선 look 벡터는
카메라를 바라봐야 한다. 임의로 위쪽방향을 가르키는 벡터를 건네줘서 up과 look을 외적해줘서 서로 수직인 right 벡터를 구하면 된다. 이렇게 구한 right와 look을 통해 up을 구해주면 된다.
이 방식을 우리는 SimpleMath 라이브러리의 CreateWorld를 통해 해줄 것이다.
BillBoardDemo.cpp
void BillBoardTest::Update()
{
	auto go = GetGameObject();

	Vec3 up = Vec3(0, 1, 0);
	Vec3 cameraPos = CUR_SCENE->GetMainCamera()->GetTransform()->GetPosition();
	Vec3 myPos = GetTransform()->GetPosition();

	Vec3 forward = cameraPos - myPos;
	forward.Normalize();

	Matrix lookMatrix = Matrix::CreateWorld(myPos, forward, up);
}
이렇게 만들어주고 회전값을 적용시켜줘야하는데 지금 Rotation함수는 Vec3로 값을 받고 있는데 우리는 Quaternion을 통해 회전값을 받아오기 때문에 우리가 만들어준 Quaternion을 오일러각도로 바꿔주는 함수를 static으로 선언해서 외부에서
사용할 수 있도록 하자.
Transform.cpp
Vec3 Transform::ToEulerAngles(Quaternion q))
{
	Vec3 angles;

	// roll (x-axis rotation)
	double sinr_cosp = 2 * (q.w * q.x + q.y * q.z);
	double cosr_cosp = 1 - 2 * (q.x * q.x + q.y * q.y);
	angles.x = std::atan2(sinr_cosp, cosr_cosp);

	// pitch (y-axis rotation)
	double sinp = 2 * (q.w * q.y - q.z * q.x);
	if (std::abs(sinp) >= 1)
		angles.y = std::copysign(3.14159f / 2, sinp); // use 90 degrees if out of range
	else
		angles.y = std::asin(sinp);

	// yaw (z-axis rotation)
	double siny_cosp = 2 * (q.w * q.z + q.x * q.y);
	double cosy_cosp = 1 - 2 * (q.y * q.y + q.z * q.z);
	angles.z = std::atan2(siny_cosp, cosy_cosp);

	return angles;
}
이렇게 해주고 Script부분을 완성해주고 오브젝트에 컴포넌트로 붙여주자.
BillBoardDemo.cpp
// Mesh
{
	auto obj = make_shared<GameObject>();
	obj->GetOrAddTransform()->SetLocalPosition(Vec3(0.f));
	obj->GetOrAddTransform()->SetScale(Vec3(2.f));
	obj->AddComponent(make_shared<MeshRenderer>());
	obj->AddComponent(make_shared<BillBoardTest>());
	{
		obj->GetMeshRenderer()->SetMaterial(RESOURCES->Get<Material>(L"Veigar"));
	}
	{
		auto mesh = RESOURCES->Get<Mesh>(L"Quad");
		obj->GetMeshRenderer()->SetMesh(mesh);
		obj->GetMeshRenderer()->SetPass(0);
	}

	CUR_SCENE->Add(obj);
}

void BillBoardTest::Update()
{
	auto go = GetGameObject();

	Vec3 up = Vec3(0, 1, 0);
	Vec3 cameraPos = CUR_SCENE->GetMainCamera()->GetTransform()->GetPosition();
	Vec3 myPos = GetTransform()->GetPosition();

	Vec3 forward = cameraPos - myPos;
	forward.Normalize();

	Matrix lookMatrix = Matrix::CreateWorld(myPos, forward, up);

	Vec3 S, T;
	Quaternion R;
	lookMatrix.Decompose(S, R, T);

	Vec3 rot = Transform::ToEulerAngles(R);

	GetTransform()->SetRotation(rot);
}
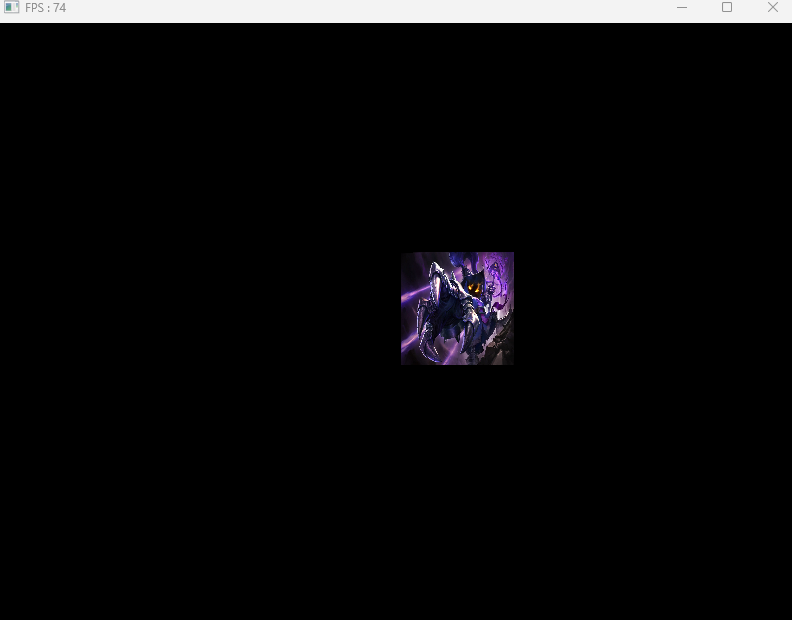
이렇게 실행해보면 하나의 물체에서는 빌보드가 잘 작동하는 것을 볼 수 있다.
이제 여러물체를 만들고 이 모든 물체가 나를 바라보도록 만들어보자. 물체를 많이 만들어줄 때 인스턴싱을 우리가 사용했었는데 이 방법을 빌보드로 적용시키려면 정점을 우선 넘겨주고 쉐이더에서 각 정점의 위치를 고정시켜주거나 기본 정점을 가지고 이 정점을 여러개로 늘려주는 작업을 Geometry 쉐이더에서 해줄 수도 있다.
지금은 물체를 여러개 만들어주는 것이 아니라 정점을 여러개로 늘려서 쉐이더에 건네주고 첫 위치를 일단은 건네준 다음에 그 자체를 일단 하나의 통 매쉬로 만들어서 건네주고 세부적인 메쉬둘 간의 좌표 계산을 쉐이더에서 해주도록 하자.
매쉬를 늘리는 것처럼 정점을 늘리는 방식으로 만들고 이 정점을 묶어서 한번만 건네주면 된다. 이때 위치는 고정되어있고 바뀌지않는다. 이렇게 해주기 위해 Geometry클래스처럼 정점과 인덱스 정보를 넘겨줄 수 있게 만들어주자. 이때 위치와 스케일을 동일하게 해서 쉐이더쪽에 전달해주게 되는데 이렇게 하는 이유는 좌표와 스케일 연산을 쉐이더쪽에서 해주기 위해서 이다.
BillBoard.h
#pragma once
#include "Component.h"

struct VertexBillboard
{
	Vec3 position;
	Vec2 uv;
	Vec2 scale;
};

//정점 최대개수
#define MAX_BILLBOARD_COUNT 500

class Billboard : public Component
{
	using Super = Component;

public:
	Billboard();
	~Billboard();

	void Update();
	//만들어줄 위치
	void Add(Vec3 position, Vec2 scale);

	void SetMaterial(shared_ptr<Material> material) { _material = material; }
	void SetPass(uint8 pass) { _pass = pass; }

private:
	vector<VertexBillboard> _vertices;
	vector<uint32> _indices;
	shared_ptr<VertexBuffer> _vertexBuffer;
	shared_ptr<IndexBuffer> _indexBuffer;

	//그려줄 애들의 수
	int32 _drawCount = 0;
	//그려준 애들의 수 - 바뀔때만 갱신
	int32 _prevCount = 0;

	shared_ptr<Material> _material;
	uint8 _pass = 0;
};
BillBoard.cpp
#include "pch.h"
#include "Billboard.h"
#include "Material.h"
#include "Camera.h"

Billboard::Billboard() : Super(ComponentType::BillBoard)
{
	//사각형이라고 가정했을 때
	int32 vertexCount = MAX_BILLBOARD_COUNT * 4;
	int32 indexCount = MAX_BILLBOARD_COUNT * 6;		//삼각형 2개

	_vertices.resize(vertexCount);
	_vertexBuffer = make_shared<VertexBuffer>();
	//갱신할 수 있도록 true
	_vertexBuffer->Create(_vertices, 0, true);

	_indices.resize(indexCount);

	for (int32 i = 0; i < MAX_BILLBOARD_COUNT; i++)
	{
		_indices[i * 6 + 0] = i * 4 + 0;
		_indices[i * 6 + 1] = i * 4 + 1;
		_indices[i * 6 + 2] = i * 4 + 2;
		_indices[i * 6 + 3] = i * 4 + 2;
		_indices[i * 6 + 4] = i * 4 + 1;
		_indices[i * 6 + 5] = i * 4 + 3;
	}

	_indexBuffer = make_shared<IndexBuffer>();
	_indexBuffer->Create(_indices);
}

Billboard::~Billboard()
{
}

void Billboard::Update()
{
	//바뀌었다면
	if (_drawCount != _prevCount)
	{
		_prevCount = _drawCount;

		D3D11_MAPPED_SUBRESOURCE subResource;
		DC->Map(_vertexBuffer->GetComPtr().Get(), 0, D3D11_MAP_WRITE_DISCARD, 0, &subResource);
		{
			memcpy(subResource.pData, _vertices.data(), sizeof(VertexBillboard) * _vertices.size());
		}
		DC->Unmap(_vertexBuffer->GetComPtr().Get(), 0);
	}

	auto shader = _material->GetShader();

	// Transform
	auto world = GetTransform()->GetWorldMatrix();
	shader->PushTransformData(TransformDesc{ world });

	// GlobalData
	shader->PushGlobalData(Camera::S_MatView, Camera::S_MatProjection);

	// Light
	_material->Update();

	// IA
	_vertexBuffer->PushData();
	_indexBuffer->PushData();

	shader->DrawIndexed(0, _pass, _drawCount * 6);
}

void Billboard::Add(Vec3 position, Vec2 scale)
{
	//동일한 위치 동일한 스케일 -> 쉐이더에서 계산하도록
	_vertices[_drawCount * 4 + 0].position = position;
	_vertices[_drawCount * 4 + 1].position = position;
	_vertices[_drawCount * 4 + 2].position = position;
	_vertices[_drawCount * 4 + 3].position = position;

	_vertices[_drawCount * 4 + 0].uv = Vec2(0, 1);
	_vertices[_drawCount * 4 + 1].uv = Vec2(0, 0);
	_vertices[_drawCount * 4 + 2].uv = Vec2(1, 1);
	_vertices[_drawCount * 4 + 3].uv = Vec2(1, 0);

	_vertices[_drawCount * 4 + 0].scale = scale;
	_vertices[_drawCount * 4 + 1].scale = scale;
	_vertices[_drawCount * 4 + 2].scale = scale;
	_vertices[_drawCount * 4 + 3].scale = scale;

	_drawCount++;
}
여기서 주의깊게 봐야할 부분은 인스턴싱에서 물체를 늘렸던 것과 달리 여기서는 정점을 늘리고 있다는 것이다.
이제 쉐이더코드를 만들어주자. 좌표 변환행렬을 직접 적용시켜줘서 좌표를 사각형처럼 나오게 만들어주자. 지금은 아직 카메라쪽으로 바라보는 것 대신 임의의 forward행렬을 넣어주자.
BillBoardDemo.fx
#include "00. Global.fx"
#include "00. Light.fx"
#include "00. Render.fx"

struct VertexInput
{
    float4 position : POSITION;
    float2 uv : TEXCOORD;
    float2 scale : SCALE;
};

struct V_OUT
{
    float4 position : SV_POSITION;
    float2 uv : TEXCOORD;
};

V_OUT VS(VertexInput input)
{
    V_OUT output;

    float4 position = mul(input.position, W);

    float3 up = float3(0, 1, 0);
    float3 forward = float3(0, 0, 1); // TODO : 카메라 바라보게 만들어 줘야한다.
    float3 right = normalize(cross(up, forward));

    //직접 좌표변환
    position.xyz += (input.uv.x - 0.5f) * right * input.scale.x;
    position.xyz += (1.0f - input.uv.y - 0.5f) * up * input.scale.y;
    position.w = 1.0f;

    output.position = mul(mul(position, V), P);

    output.uv = input.uv;

    return output;
}

float4 PS(V_OUT input) : SV_Target
{
    float4 diffuse = DiffuseMap.Sample(LinearSampler, input.uv);

    return diffuse;
}

technique11 T0
{
    pass P0
    {
        //SetRasterizerState(FillModeWireFrame);
        SetVertexShader(CompileShader(vs_5_0, VS()));
        SetPixelShader(CompileShader(ps_5_0, PS()));
    }
}
이렇게 해주고 메인코드에서 빌보드 오브젝트를 만들고 오브젝트 여러개를 만들고 테스트해보자.
BillBoardDemo.cpp
// Billboard
{
	auto obj = make_shared<GameObject>();
	obj->GetOrAddTransform()->SetLocalPosition(Vec3(0.f));
	obj->AddComponent(make_shared<Billboard>());
	{
		// Material
		{
			shared_ptr<Material> material = make_shared<Material>();
			material->SetShader(_shader);
			auto texture = RESOURCES->Load<Texture>(L"Veigar", L"..\\Resources\\Textures\\grass.png");
			//auto texture = RESOURCES->Load<Texture>(L"Veigar", L"..\\Resources\\Textures\\veigar.jpg");
			material->SetDiffuseMap(texture);
			MaterialDesc& desc = material->GetMaterialDesc();
			desc.ambient = Vec4(1.f);
			desc.diffuse = Vec4(1.f);
			desc.specular = Vec4(1.f);
			RESOURCES->Add(L"Veigar", material);

			obj->GetBillboard()->SetMaterial(material);
		}
	}

	for (int32 i = 0; i < 500; i++)
	{

		Vec2 scale = Vec2(1 + rand() % 3, 1 + rand() % 3);
		Vec2 position = Vec2(-100 + rand() % 200, -100 + rand() % 200);

		obj->GetBillboard()->Add(Vec3(position.x, scale.y * 0.5f, position.y), scale);
	}

	CUR_SCENE->Add(obj);
}
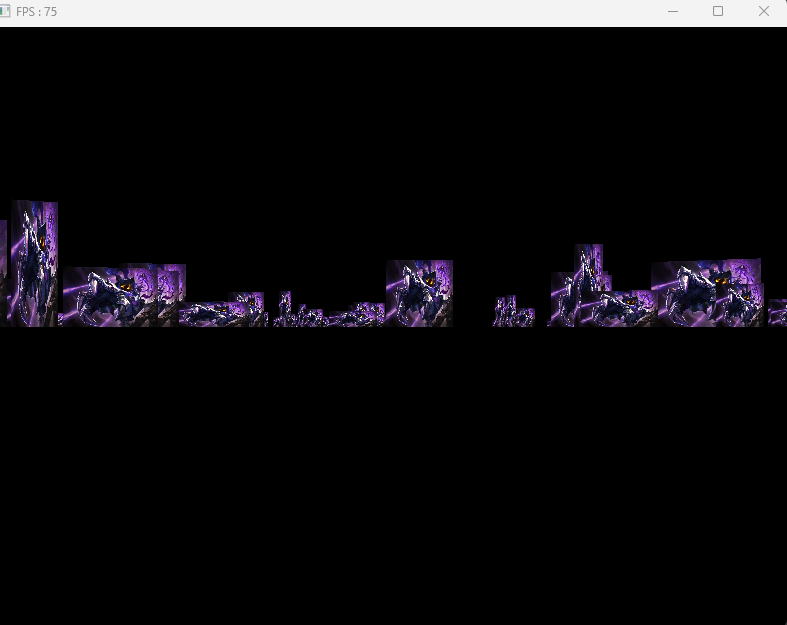
이렇게 해주면 다양한 크기와 위치의 사각형이 나오게 된다. 아직 카메라방향을 바라보게하는 것은 작동하지 않는다.


빌보드를 활용하여 풀과 같은 오브젝트를 생성해줄 수 도 있을 것이다.
만약 빌보드 기능을 켜주려고 한다면 VS 부분에서 forward벡터를 카메라와 자신의 좌표를 통한 연산으로 수정해주면 될 것이다.
BillBoardDemo.fx
V_OUT VS(VertexInput input)
{
    V_OUT output;

    float4 position = mul(input.position, W);

    float3 up = float3(0, 1, 0);
    //float3 forward = float3(0, 0, 1); // TODO : 카메라 바라보게 만들어 줘야한다.
    float3 forward = position.xyz - CameraPosition(); // BillBoard
    float3 right = normalize(cross(up, forward));

    //직접 좌표변환
    position.xyz += (input.uv.x - 0.5f) * right * input.scale.x;
    position.xyz += (1.0f - input.uv.y - 0.5f) * up * input.scale.y;
    position.w = 1.0f;

    output.position = mul(mul(position, V), P);

    output.uv = input.uv;

    return output;
}
이렇게 해주면 이리저리 움직여도 카메라를 쳐다보는 것을 볼 수 있다.
만약 여기에 풀 이미지를 넣어주면 실제 풀처럼 될 것이다.
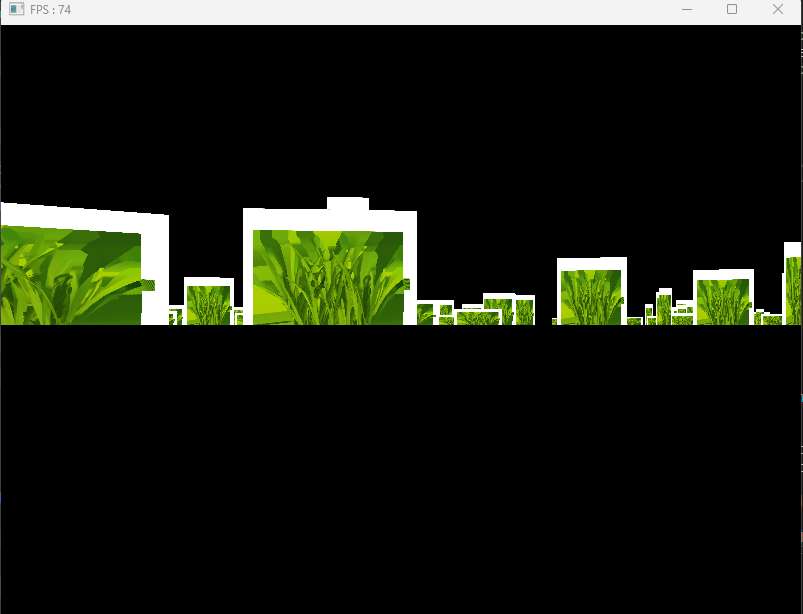
지금은 이미지의 알파값을 넣어주지 않아서 흰부분이 저렇게 보이는데 이것은 쉐이더의 PS 픽쉘쉐이더 단계에서 해주면 된다.
BillBoardDemo.fx
float4 PS(V_OUT input) : SV_Target
{
    float4 diffuse = DiffuseMap.Sample(LinearSampler, input.uv);

    //알파값 조정 일정이하 없애기
    if (diffuse.a < 0.3f)
        discard;

    return diffuse;
}
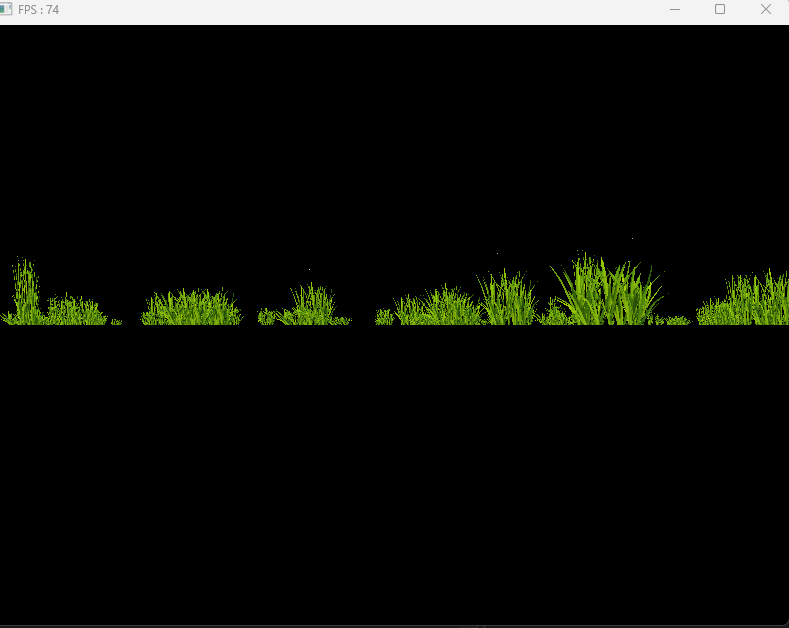
이렇게 해주면 진짜 풀 같이 만들어진 것을 볼 수 있다.
'게임공부 > Directx11' 카테고리의 다른 글
| [Directx11][C++][3D]36. 빌보드2 (1) | 2024.10.13 |
|---|---|
| [Directx11][C++][3D]34. 버튼 실습 (1) | 2024.10.11 |
| [Directx11][C++][3D]33. 직교투영 (0) | 2024.10.10 |
| [Directx11][C++][3D]32. 수학3(Triangle) (4) | 2024.10.09 |
| [Directx11][C++][3D]31. 수학2(Intersection & RayCasting) (1) | 2024.10.09 |