
이제 본격적으로 C++를 통해 언리얼을 다뤄보자
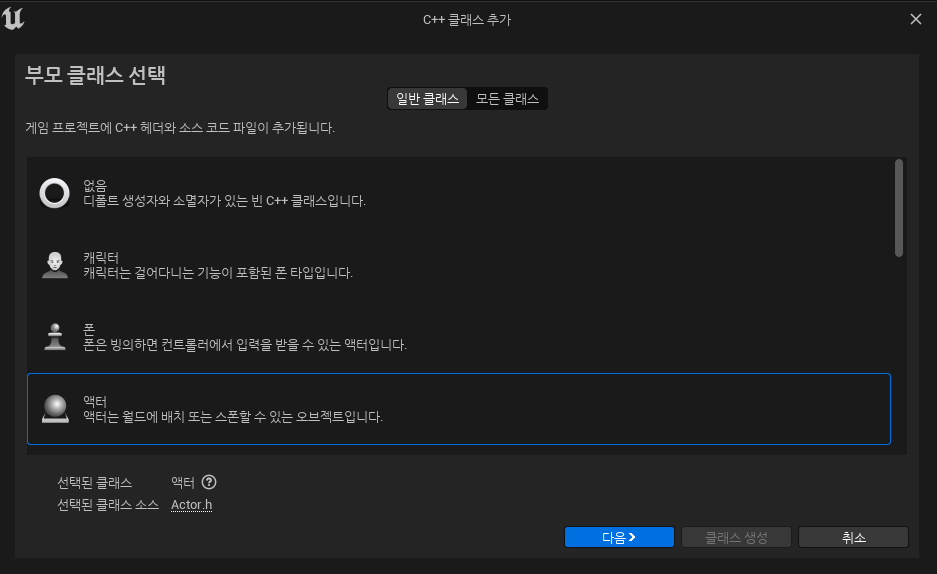
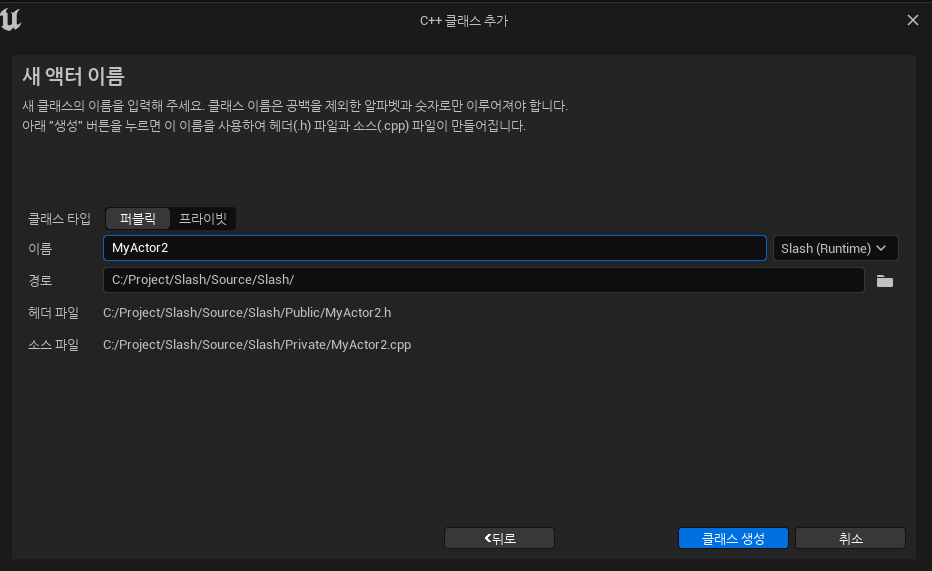
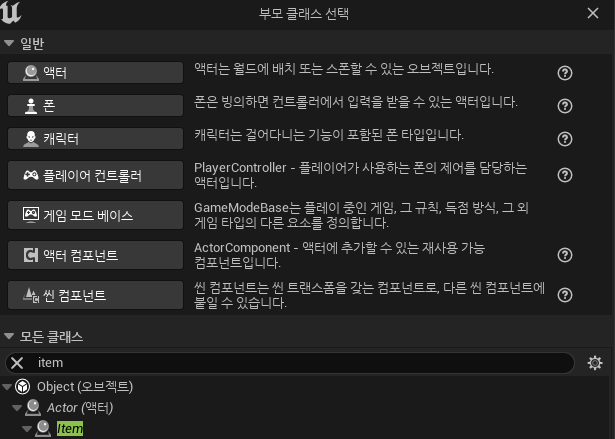
일단 툴/C++클래스추가 에서 액터추가에서 C++ 클래스를 만들어주자

기본 코드를 살펴보자면
Item.h
// Fill out your copyright notice in the Description page of Project Settings.

#pragma once

#include "CoreMinimal.h"
#include "GameFramework/Actor.h"
#include "Item.generated.h"

UCLASS()
class SLASH_API AItem : public AActor
{
	GENERATED_BODY()

public:
	// Sets default values for this actor's properties
	AItem();

protected:
	// Called when the game starts or when spawned
	virtual void BeginPlay() override;

public:
	// Called every frame
	virtual void Tick(float DeltaTime) override;

};
리플랙션 코드와 액터의 기능을 쓸 수 있게하는 헤더 파일들과 AActor를 상속받고 있는 모습을 볼 수 있다.
Item.cpp
// Fill out your copyright notice in the Description page of Project Settings.


#include "Items/Item.h"

// Sets default values
AItem::AItem()
{
 	// Set this actor to call Tick() every frame.  You can turn this off to improve performance if you don't need it.
	PrimaryActorTick.bCanEverTick = true;		//매틱마다 실행되도록

}

// Called when the game starts or when spawned
void AItem::BeginPlay()
{
	Super::BeginPlay();

}

// Called every frame
void AItem::Tick(float DeltaTime)
{
	Super::Tick(DeltaTime);

}
Actor 쪽에서 무언가 구현할 것을 대비하여 부모쪽의 BeginPlay를 실행하기위해 Super::로 실행한다.
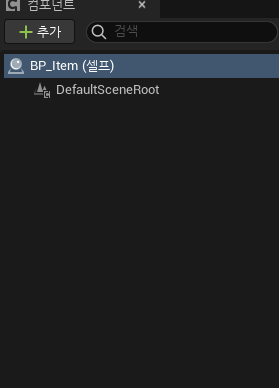
이제 만든 클래스를 바탕으로 블루프린트를 만들어보자
모든 액터는 초기에 DefaultSceneRoot라는 Component를 가지고 있다.
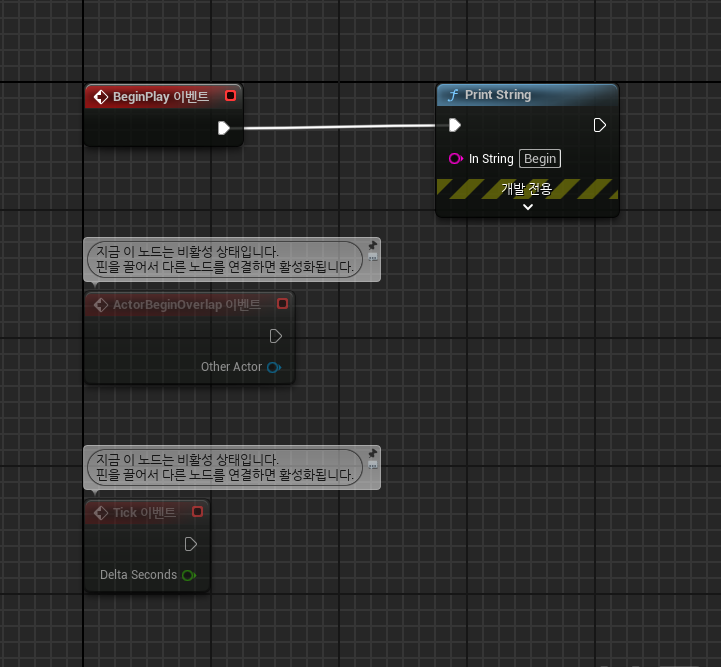
모든 블루프린트에는 이벤트 그래프가 있는데 이것은 블루프린트를 통해 코드의 흐름을 작성하고 실행시킬 수 있는 도구이다.
예를 들면 Begin Play 이벤트 즉 시작할 때 String을 화면에 띄우는 기능을 블루프린트를 통해 구현할 수 있는 것이다.
그리고 다음은 Construction Script이다
이것은 게임이 시작되기 전에 실행되며 블루프린트의 속성이 바뀔 때 실행된다.
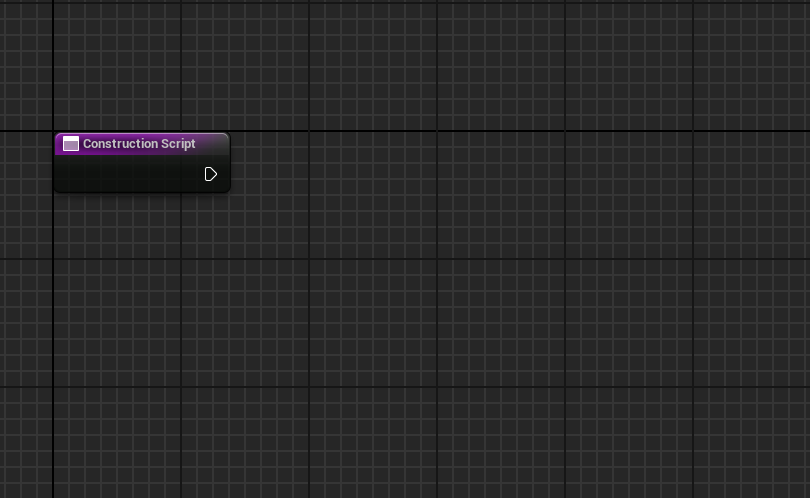
그리고 만약 이 함수가 실행되는 곳, 즉 액터와 너무 멀리있다면 실행결과가 화면에 보이지 않는다
이제 이것을 C++를 통해 구현해보자
// Called when the game starts or when spawned
void AItem::BeginPlay()
{
Super::BeginPlay();
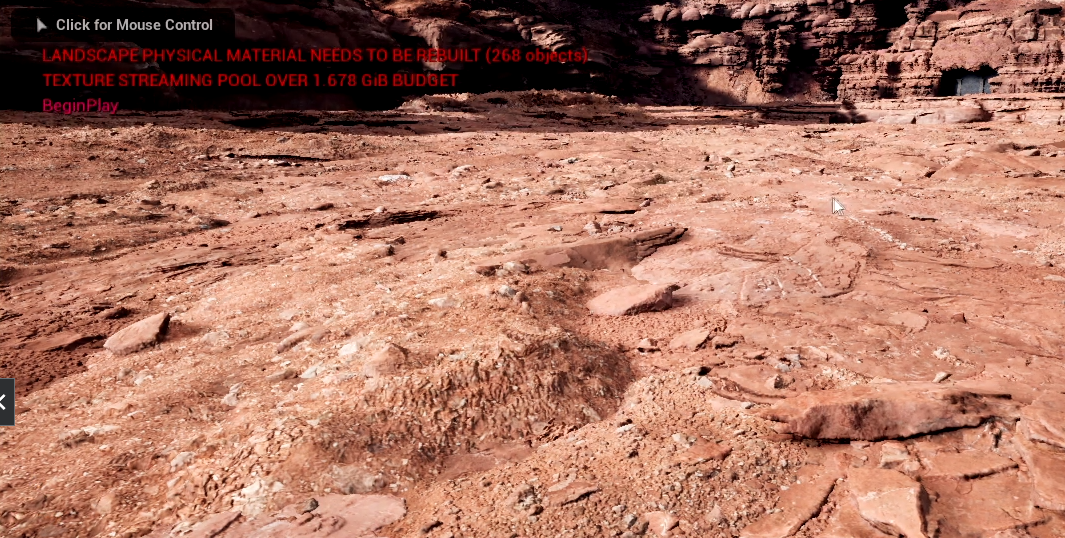
UE_LOG(LogTemp,Warning,TEXT("Begin Play called!"));
}
중요한점
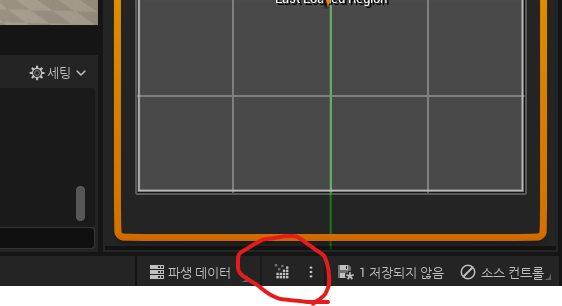
핫리로딩 - 라이브컴파일을 하려면 밑의 버튼을 누르면 된다.
비쥬얼 스튜디오에서 ctrl shift b 를 누르면 컴파일이 된다.
'게임공부 > Unreal Engine' 카테고리의 다른 글
| [Unreal Engine][C++]3. 디버그 (0) | 2024.07.10 |
|---|---|
| [Unreal Engine][C++]2. C++살펴보기 (0) | 2024.07.09 |
| [Unreal Engine][C++]0.오픈월드 (0) | 2024.07.04 |
| [Unreal Engine][BluePrint]적 시스템 만들기-2 (0) | 2024.07.02 |
| [Unreal Engine][BluePrint]적 시스템 만들기-1 (0) | 2024.07.01 |