오늘은 아이템과 관련된 시스템을 만들어보자.
우선 아이템에 필요한 것을 생각해보자. 우선 아이템 이름, 설명, 식별자, 사진, 종류등이 필요할 것 같다.
이를 클래스로 구현해보자
이때 나중에 저장기능을 구현할 때
직렬화에 적합하고 데이터 관리와 로직을 분리하며 확장성을 높이기 위해 ItemData 객체를 만들어 이 곳에 정보를 넣고
Item객체에는 필요한 정보만 가지고 있도록 구현했다.
Item.cs
using Controllers.Entity;
using UnityEngine;

public class Item : MonoBehaviour, IPickable
{
    public ItemData itemData; // ScriptableObject 참조
    public int quantity = 1;

    public void Pickup()
    {
        Managers.Inventory.AddItem(itemData, quantity); // ScriptableObject 기반 인벤토리 추가
        Destroy(gameObject);
    }
}
ItemData.cs
using UnityEngine;

[CreateAssetMenu(fileName = "NewItemData", menuName = "Inventory/Item Data")]
public class ItemData : ScriptableObject
{
    public string itemName;
    public int itemID;
    public Sprite icon;
    public string description;
    public ItemType itemType; // 예: 무기, 소비 아이템 등
}
ItemType.cs
using System.Collections;
using System.Collections.Generic;
using UnityEngine;

public enum ItemType
{
    Weapon,
    Healing,
    ingredients,
    etc
}
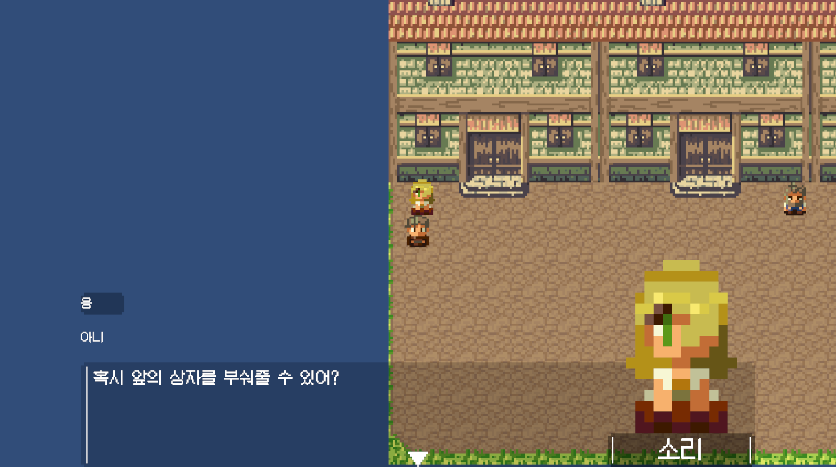
이렇게 만든다음에 아이템을 습득할 수 있게 해야하는데 이것은 전에 npc와 상호작용에서 사용한 인터페이스과 레이케스틍을 통해 구현해보자.
IPickable.cs
namespace Controllers.Entity
{
    public interface IPickable
    {
        /// <summary>
        /// Pickable의 필수 구현 사항
        /// </summary>
        void Pickup();
    }
}
Player.cs
private void PickupSomeThing()
{
    RaycastHit2D hit = Physics2D.Raycast(transform.position, facingDirection, interactDistance, LayerMask.GetMask("Pickable"));

    if (hit.collider != null)
    {
        IPickable pickable = hit.collider.GetComponent<IPickable>();
        if (pickable != null)
        {
            pickable.Pickup();
        }
        else
        {
            Debug.LogWarning("주울수 있는 객체가 아닙니다.");
        }
    }
    else
    {
        Debug.LogWarning("주울수 있는 대상이 없습니다.");
    }
}
이렇게 해준다음 주웠을 때 플레이어의 인벤토리에 추가될 수 있도록 Inventory를 관리해줄 Manager를 만들어보자.
나는 인벤토리를 리스트로 구현해보았다. 그리고 아이템 추가, 제거, 정보가져오기와 같은 기능들이 들어가도록 구현해보았다.
저장할 때 직렬화에 적합하도록 ItemSlot을 통해 데이터를 조작하도록 구현하였다.
ItemSlot.cs
[System.Serializable]
public class ItemSlot
{
    public ItemData itemData; // ScriptableObject 참조
    public int quantity;      // 해당 아이템 개수
}
InventoryManager.cs
using System.Collections.Generic;
using UnityEngine;
public class InventoryManager : MonoBehaviour
{
private List<ItemSlot> inventory; // 슬롯 기반 관리
public void Init()
{
inventory = new List<ItemSlot>();
}
// 아이템 추가
public void AddItem(Item item, int count = 1)
{
ItemSlot slot = inventory.Find(s => s.itemData.itemID == item.itemID);
if (slot != null)
{
slot.quantity += count; // 이미 존재하면 개수 증가
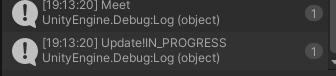
Debug.Log(slot.itemData.itemName + "의 아이템의 개수가 " + slot.quantity + "개로 늘어났습니다.");
}
else
{
inventory.Add(new ItemSlot { itemData = item, quantity = count }); // 새로운 슬롯 추가
Debug.Log(item.itemName + "의 아이템의 개수가 " + count + "개로 늘어났습니다.");
}
}
// 아이템 제거
public void RemoveItem(Item item, int count = 1)
{
ItemSlot slot = inventory.Find(s => s.itemData.itemID == item.itemID);
if (slot != null)
{
slot.quantity -= count;
if (slot.quantity <= 0)
{
inventory.Remove(slot); // 개수가 0 이하일 경우 슬롯 제거
}
}
}
// 특정 아이템 개수 가져오기
public int GetItemCount(Item item)
{
ItemSlot slot = inventory.Find(s => s.itemData.itemID == item.itemID);
return slot != null ? slot.quantity : 0;
}
private Item FindItemDataByID(int itemID)
{
return Resources.Load<Item>($"Items/{itemID}"); // Resources에서 아이템 데이터 검색
}
}
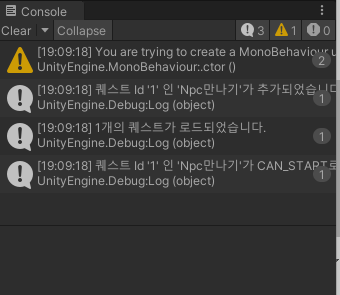
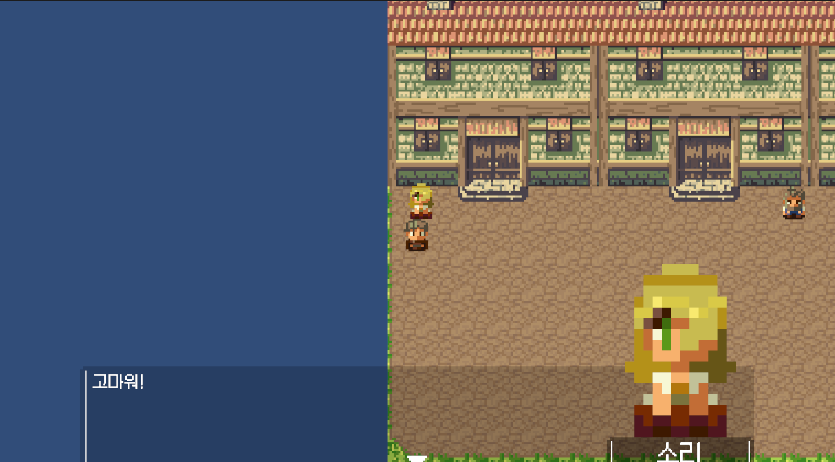
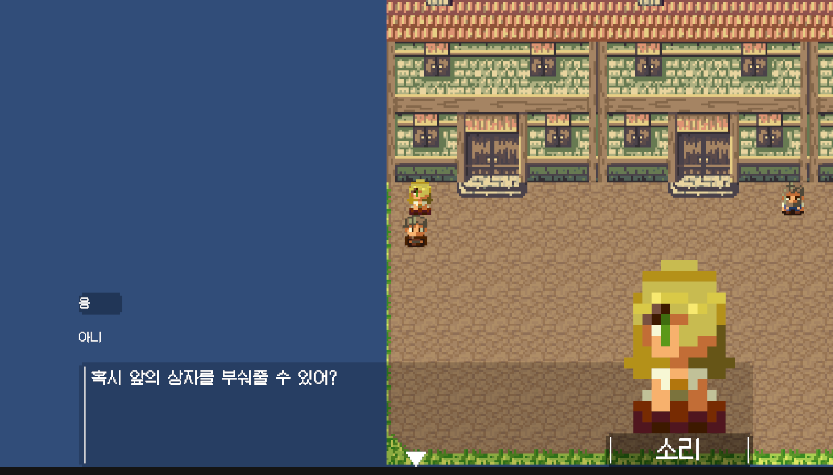
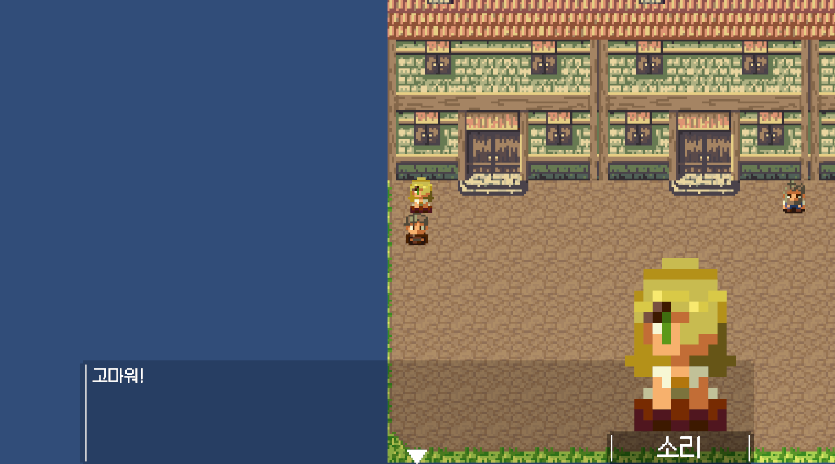
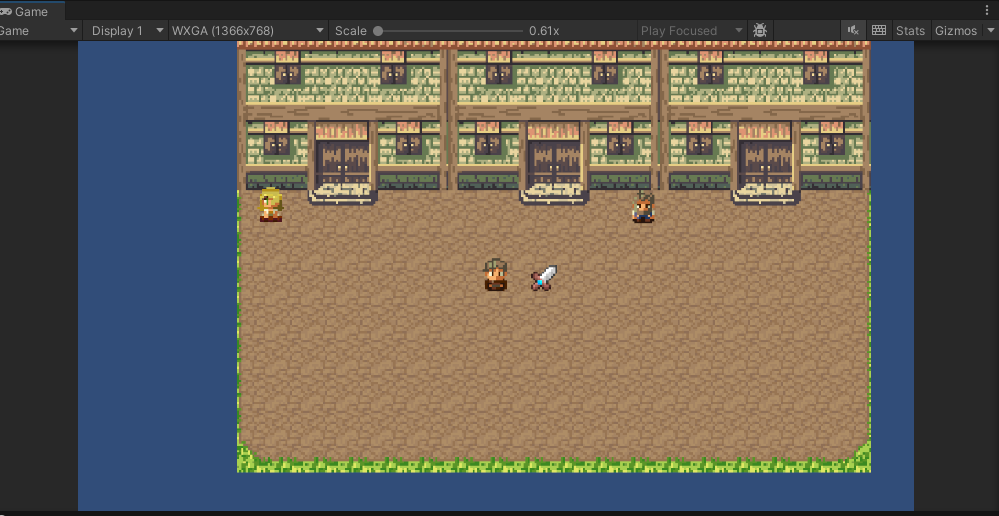
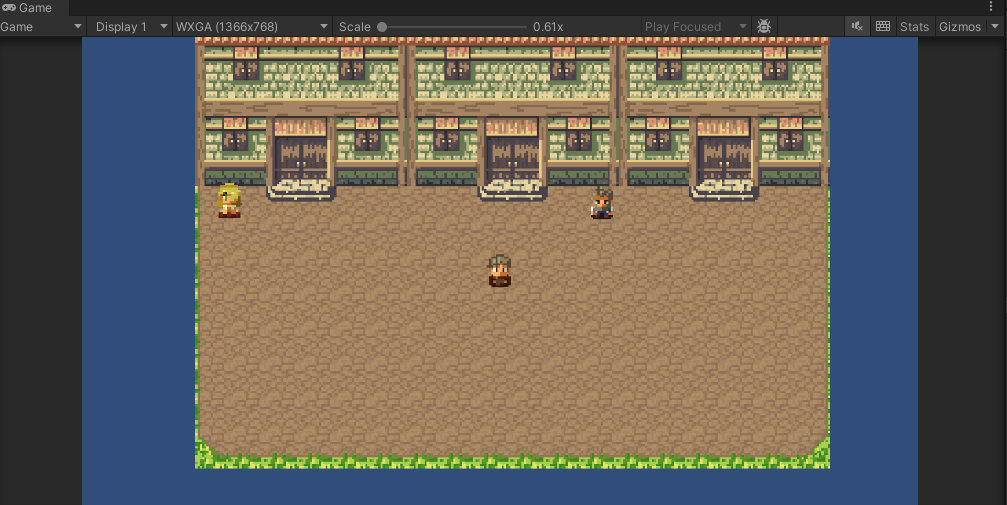
이렇게 해서 테스트해보면 잘 작동하는 것을 볼 수 있다.

'게임공부 > Unity' 카테고리의 다른 글
| [C#][Unity][나만의 탑뷰 게임 만들기]6. 인벤토리 시스템 만들기 (2) | 2024.12.28 |
|---|---|
| [C#][Unity][나만의 탑뷰 게임 만들기]5. 저장시스템 기초만들기 (1) | 2024.12.22 |
| [C#][Unity][나만의 탑뷰 게임 만들기]3. 퀘스트시스템 만들기-2 (1) | 2024.11.28 |
| [C#][Unity][나만의 탑뷰 게임 만들기]3. 퀘스트시스템 만들기-1 (1) | 2024.11.25 |
| [C#][Unity][나만의 탑뷰 게임 만들기]2. 대화 상호작용 만들기 (1) | 2024.11.06 |